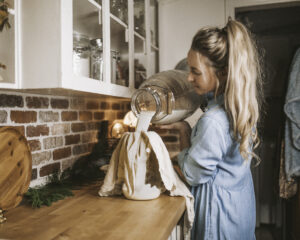
I could give a long list of so many reason why I love having a milk cow, but getting fresh butter is defiantly near the tippy top. It’s the gold from milk! The amazing part about all of this is it’s such a simple and fast process. All you need to make butter is the cream from the top of your fresh raw milk. When you allow raw milk to sit a few hours the cream will rise to the top. You simply grab a ladle and carefully scoop out all of that delicious thick cream. You can see once you are down to the milk, the color and texture is much different. Cream is thick with a golden tint, while the milk is a much more water based and off white color. You don’t want to get too much milk mixed into your cream or the butter might have a hard time churning.
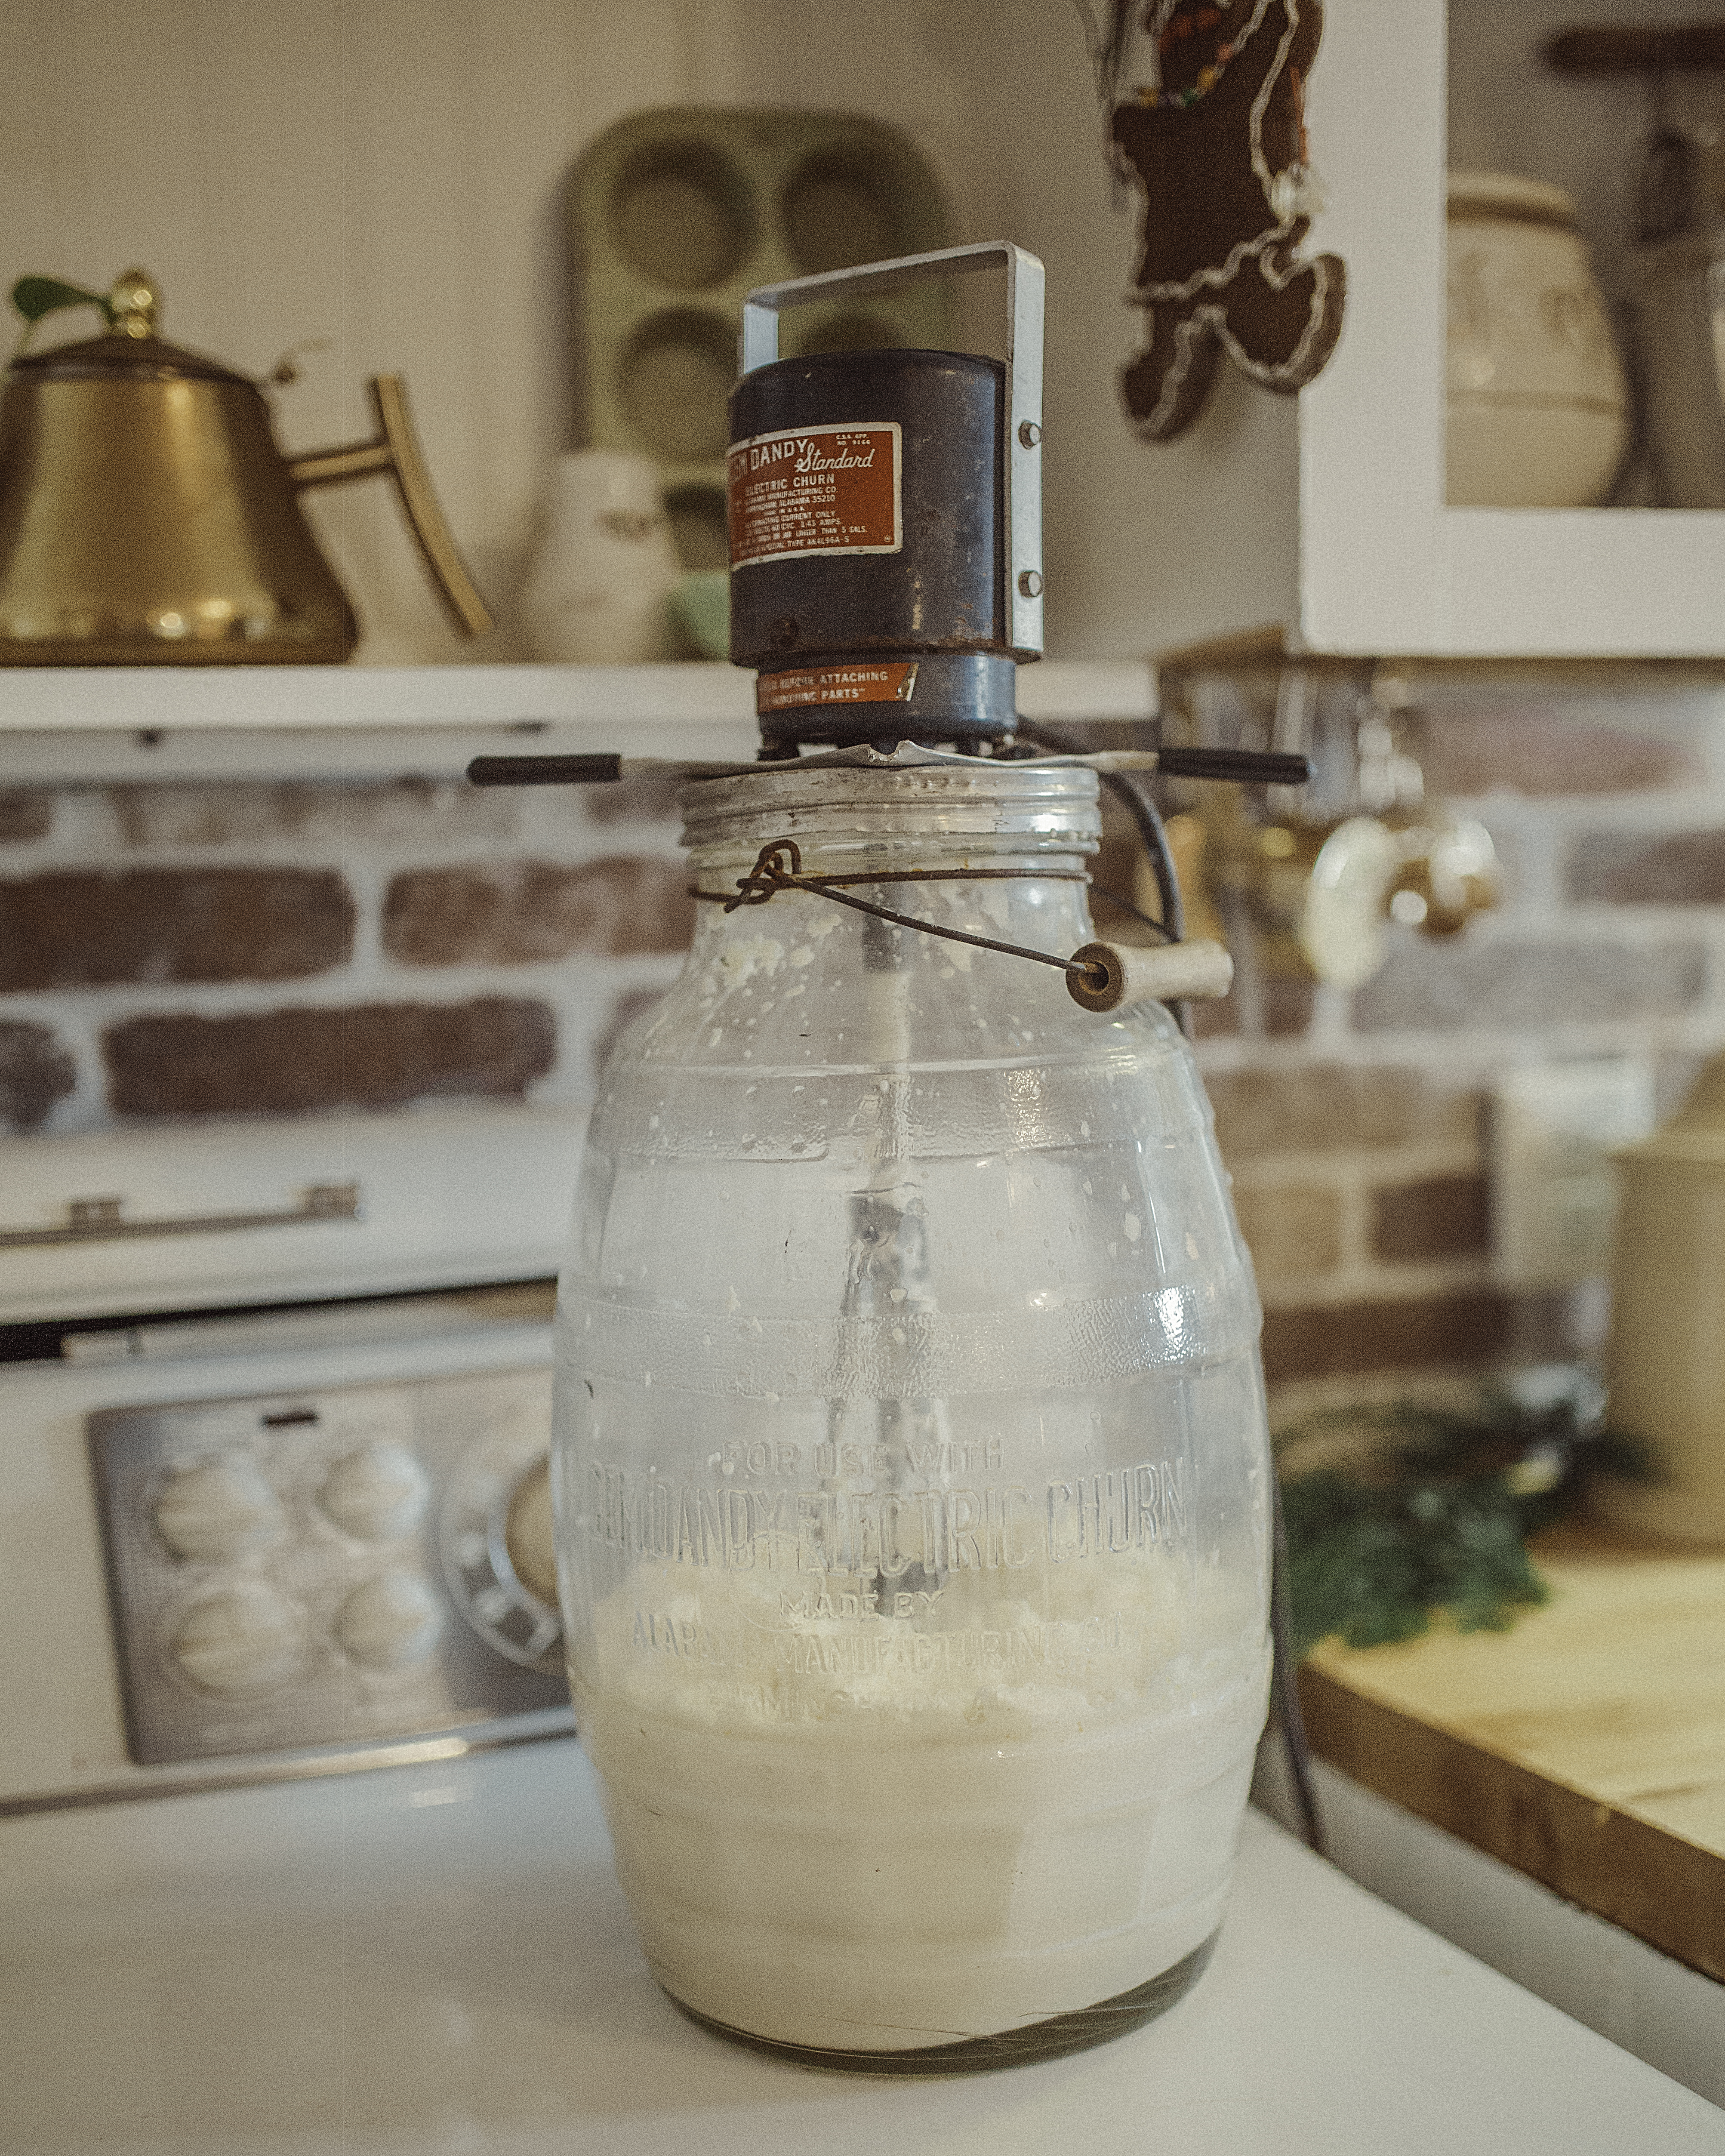
You will skim the cream off the top and place it into whatever you’re using to make butter. I have an old gem dandy churn and for me this has by far been the best method for making butter. You can use a blender, kitchen aid and of course the old school method of a shaking a jar with just some cream in it( get ready for a workout). Since you’re only working with one ingredient to make the butter no measuring is required! It’s very simple process! I pour all of my cream into this old churn and simply leave it running until you see the butter and buttermilk completely separate. I always use cold cream, but when you do this the cream will go through a whip cream stage. Its just an excuse really to stop the church and snag some of that for my coffee, BUT if you want to make it churn a bit faster start with cream that is around 50 degrees. It’ll skip the whip stage all together, just make sure it isn’t too warm! Sounds trickier that it really is.
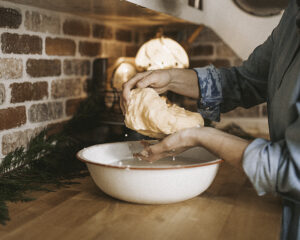
Ok, so once the fats have separated you want to scoop all of that delicious golden butter out of the buttermilk. Don’t throw the buttermilk out, we will use that later! Place your butter straight into a bowl filled with very cold water. You want to squish the butter around in the water. What this does is bathe the butter and cleans out of all the buttermilk still mixed in. You need to wash as much of that out as possible so your butter will stay fresher longer. Buttermilk can sour it much quicker! Now this part you can get real fancy, but I like to keep it short and sweet. I start by taking the butter and measure out to one cup balls. Then roll it up in unbleached parchment paper to store in the freezer. You can also roll them into logs quickly and this makes chopping the butter up easier when you need it for baking/cooking! They sell pretty molds for this, and if I was gifting the butter this is a fun route to go! You can store your butter in the freezer for quite a long time or refrigerated up to one week.

For the remaining buttermilk take a cheese cloth and cover a jar. Pour your buttermilk into that and it will catch any butter that might still be in there. This will be a delicious sweet buttermilk, but if you would like it to culture you can leave to on the counter for 24 hours. The next morning it should be nice and thick! You can use this in making fried chicken, pancakes, baked goods and so much more!